Resources Manager
The Resources Manager is the central library for all assets used in your project — images, fonts, and downloadable files. Any asset you add here becomes available anywhere on the canvas without uploading it again.
Opening Resources Manager
Click the image icon (second icon) in the left toolbar to open the Resources panel. The panel has three tabs: Images, Fonts, and Files.
Images tab
Uploading images
Drag image files directly from your desktop onto the Images tab, or click the Upload button and select files from the file picker. You can select multiple files at once.
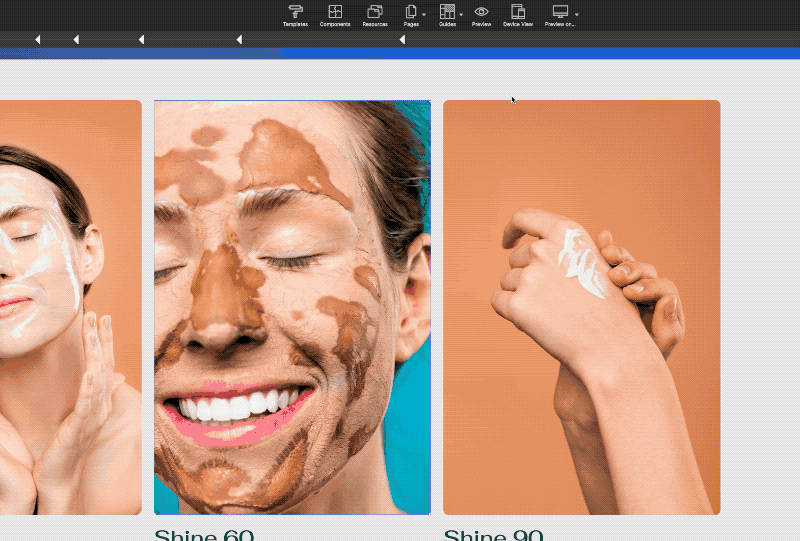
Supported formats: JPEG, PNG, GIF, SVG, WebP.
Using images on canvas
Once uploaded, drag any image from the Resources panel directly onto the canvas to create an Image element. You can also select an existing Image element and click an image in Resources to swap it.
Replacing an asset
Right-click any image in the panel and choose Replace. Select a new file — Site Designer updates every element in the project that references the original file automatically.
Organizing with folders
Click the New Folder button to create a folder inside the Images tab. Drag assets into folders to keep large projects organized. Folders are for organizational purposes only and do not affect the export path.
Fonts tab
Google Fonts integration
Click Add Google Font to open the font search dialog. Type any font name (e.g., “Inter”, “Playfair Display”) to filter results. Click a font to preview it, then click Add to Project. Site Designer inserts the <link> tag into the page <head> automatically, and the font becomes available in the Style pane’s font picker.
Custom font upload
-
Prepare your font files
For best browser compatibility, have your font in
.woff2format (widely supported and smallest file size)..woffand.ttfare also accepted as fallbacks. -
Upload the font
Click Upload Font in the Fonts tab and select your font files. Upload multiple weights or styles (Regular, Bold, Italic) in one step by selecting them all.
-
Select the font in the Style pane
With a text element selected on canvas, open the Style pane and choose the uploaded font from the font family dropdown. Site Designer generates the
@font-facerule automatically in the exported CSS.
Files tab
The Files tab stores assets that are not images or fonts — PDFs, video files, ZIP archives, and any other downloadable content. Upload files the same way as images (drag or click Upload).
To link to a file, select a Link element or Button element on canvas. In the URL field, click the folder icon and choose from your uploaded files.
How assets appear in the exported project
When you export your project, Site Designer copies all Resources assets into a folder (typically assets/images/, assets/fonts/, and assets/files/ depending on export settings). All references in HTML and CSS update automatically to point to these local paths — your site works offline and without any CDN dependency, except for Google Fonts.